
How to Propagate Orchid? Step by Step Guide
Propagating orchids can be a rewarding and satisfying experience for any plant lover. While orchids are often seen as delicate and difficult to grow, anyone can successfully propagate these beautiful flowers with the right knowledge and techniques.
Whether you are a beginner or an experienced gardener, this blog will provide you with everything you need to know about how to propagate orchids.
You'll find all the information you need to grow your own orchids, from the different propagation methods to the best conditions for success.
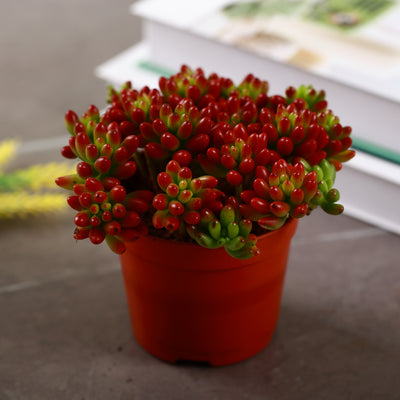
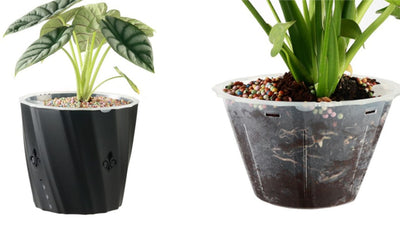
Orchid planters with holes are indeed good for the propagation of orchids.
So, let's start and learn how to propagate orchid together.

How to Propagate an Orchid: Step-by-Step Guide
Propagating an orchid can be a rewarding experience for any orchid enthusiast. While it may seem daunting, it is quite simple with the right instructions and tools.
Let's go through how to propagate orchids from roots, whether it's a Phalaenopsis or a monopodial orchid like a Vanda.
What You'll Need.
- Disinfected Pruning Shears: Before you start propagating your orchid, make sure to disinfect your pruning shears with rubbing alcohol. Any potential diseases or pests will be prevented by doing this.
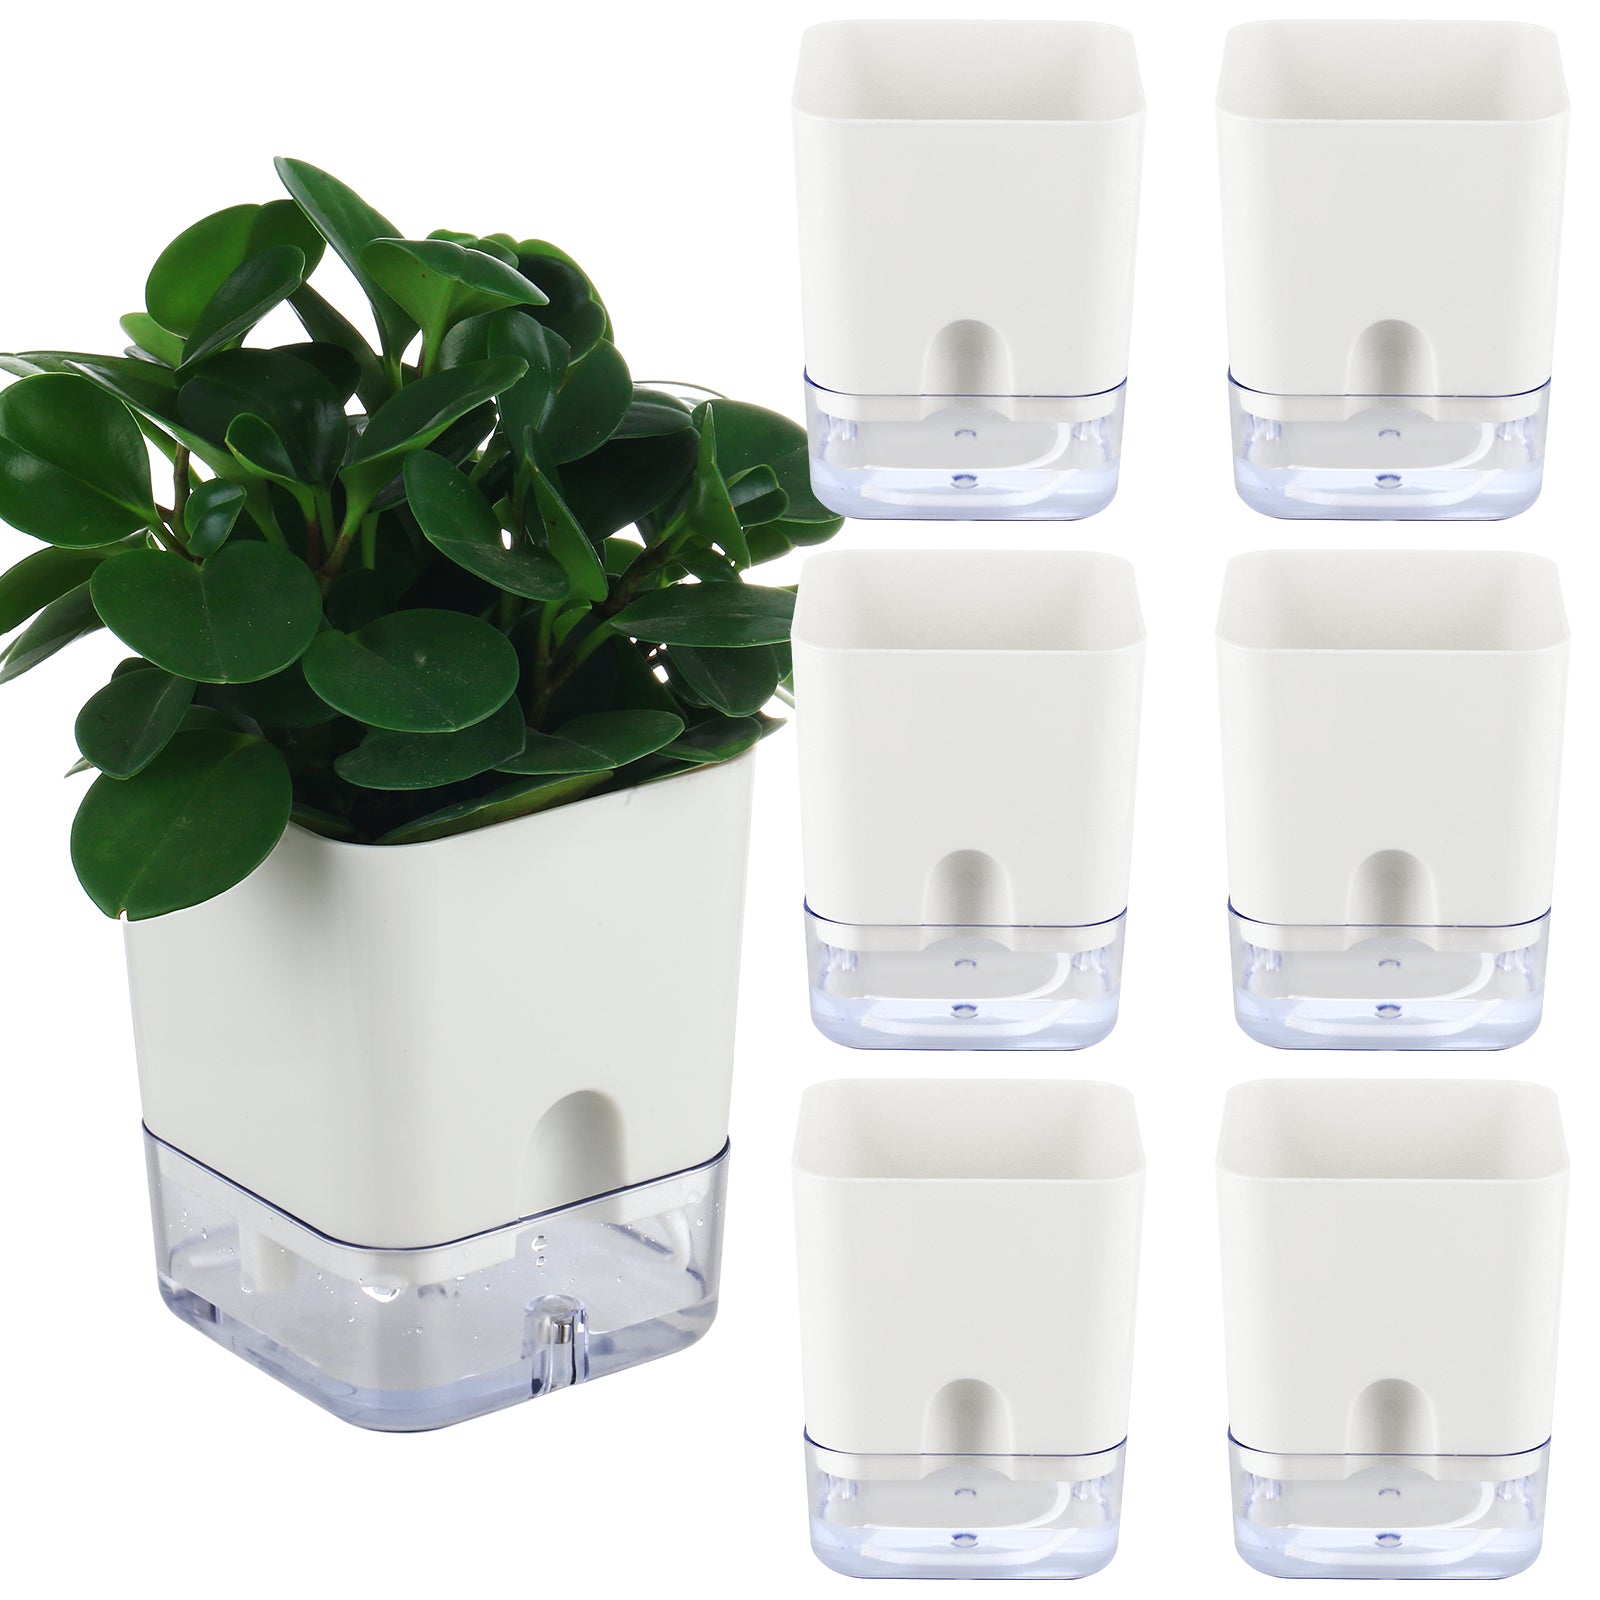
- Appropriately Sized Orchid Planters or Hangers: Once you have propagated your orchid, you will need a suitable container to place it in. Ensure the planter or hanger is the right size for your orchid's needs.
- Sphagnum Moss: Sphagnum moss is an excellent growing medium for orchids. It retains moisture while still allowing for proper drainage, creating an ideal environment for root growth.
How to Propagate Orchid From Stem Cutting?
Before diving into the specific orchid propagation methods, it's essential to address some common myths. One such myth is that you can propagate a Phalaenopsis orchid through flower stem cuttings.
This is only true if there is a Keiki present. A keiki is a small plantlet that grows from the flower stem, which can be used to grow a new plant.
Propagating Monopodial Orchids (e.g., Phalaenopsis, Vanda)
For monopodial orchids like Phalaenopsis or Vanda, the best method of propagation is through stem cuttings. However, we're not referring to the flower stem cuttings but mature orchids with well-established stems.
To propagate a monopodial orchid, you will need to cut the stem in half, referred to as "topping" the plant. The bottom part has roots and can be left in its current container and will continue to grow with proper care.
The top part, which is root-less, can be planted in moist sphagnum moss. It will develop roots and continue to grow as usual. It's important to provide the right conditions, including proper humidity and light, to encourage successful root growth.

Here are the steps on how to propagate orchids from any orchid branch:
-
Cut the Orchid Branch:
- Cut off the spots that have already bloomed.
- Keep only those paragraphs (sections) of the orchid branch, which can still sprout.

-
Apply the Candle Solution:
- Apply candle solution on the cut areas to protect the orchid from root rot.

- Apply candle solution on the cut areas to protect the orchid from root rot.
-
Preparing Ginger Water:
- Peel off the protective film of the sleeping sprout.
- Use 1 sprig of chopped fresh ginger.
- Boil 500 ml of water.
- Let the ginger steep in the boiled water for 1 day.

-
Soak Orchids in Ginger Water:
- Soak orchids in the ginger water for 30 minutes.

- Soak orchids in the ginger water for 30 minutes.
-
Soak Moss in Ginger Water:
- Soak moss in ginger water for 30 minutes.

- Soak moss in ginger water for 30 minutes.
-
Creating Miniature Greenhouses:
- Use recycled plastic boxes to make miniature greenhouses for faster orchid propagation.
- Ensure there's a vent in the miniature greenhouse.

-
Spray with Water Bottle once a week:
- Spray with water bottle once a week.
- Keep the orchid in a bright place, avoiding direct sunlight.

-
Transplanting Orchids:
- Plant the propagated orchid in pots to let it adapt and grow in the outside environment.
- Ensure the root is planted higher than the pot to prevent root rot.

Propagating Sympodial Orchids (e.g., Dendrobium)
Sympodial orchids grow through multiple canes or bulbs and are generally not propagated through stem cuttings. However, there is one exception - the popular Dendrobium nobile.
To propagate Dendrobium nobile, you can cut the canes and place them in a covered seedling tray with wet sphagnum moss. Make sure each cutting contains a few nodes, as this is where new growth will emerge. With the right conditions, some of the cuttings will sprout brand new Dendrobiums.
Propagate an Orchid From Back Bulbs
While many people are familiar with sympodial orchids, not everyone knows about back bulbs and their potential for propagation. Back bulbs are pseudobulbs found on the canes of certain orchids, such as Cymbidiums, that serve as storage units for nutrients and water.
Even if back bulbs have gone inactive in terms of growth, they can still be revived and used to propagate new orchids. These bulbs still possess "eyes" on their stems that have the ability to produce new growth, but they remain dormant unless they are separated and potted up individually.
The process of propagating orchids from back bulbs is relatively simple. First, you need to separate the back bulb from the rhizome, which is the horizontal stem that connects the bulbs.
Once separated, pot the back bulb up into moist sphagnum, a type of moss that retains moisture well. This provides the bulb with the necessary environment for rooting and growth. As the back bulb starts to establish roots, you can transfer it to a normal orchid medium.
It's important to keep in mind that back bulbs are not known for their rapid growth. It may take considerable time for a back bulb to emerge from dormancy and reach the flowering stage. However, back bulb propagation can be successful and rewarding with patience and proper care.
Propagating an Orchid From Keikis
If you're lucky enough to have an orchid that has produced a keiki, which is a tiny copy of itself, you're in for an easy propagation process. The term "keiki" comes from Hawaiian, meaning baby or child, and it accurately describes these miniature versions of the orchid that can grow on the stems or at the base of the mother plant.
Propagation can be tricky with some orchid varieties, but the process becomes much more straightforward when it comes to monopodial Phalaenopsis and Dendrobium, which are common keiki producers.
These keikis make the propagation process easier because they are essentially doing half of the work themselves. If your orchid has grown a keiki on its stem or base, leaving it alone for a while is the first step.
It's best to wait until the keiki has grown a few leaves and has developed a healthy air root system. This ensures that it is ready to be separated from the mother plant. When the keiki is ready, you can use clean shears or a knife to separate it from the mother plant carefully.
It's important to make sure your tools are clean to avoid any potential infections or diseases. Once separated, you can pot up your baby orchid in the same type of container and soil that you used for the mother plant.
Alternatively, you can choose to plant the keiki next to the original plant in the same pot. Since the keiki already has its own root system, it should continue growing relatively easily.
Just make sure to provide it with the same care and conditions as the mother plant, including proper watering, light, and temperature requirements.
Propagating an orchid from keikis is a rewarding experience as you witness a new plant's growth and development. With a little patience and care, your baby orchid will flourish and become a beautiful addition to your collection.
Propagating Through Division
Suppose you're interested in propagating your orchid through division. In that case, it's important to note that this method is only suitable for multi-stemmed orchids such as Dendrobium or Cattleya, as they have a rhizome that can be separated.
Monopodial orchids like Phalaenopsis, on the other hand, do not have anything to divide. To begin the process, ensure that you have a healthy and mature orchid plant with an abundance of canes or pseudobulbs.
Carefully remove the orchid from its planter and gently untangle the roots. The next step is to divide the rhizome clump into new orchids that each have 3-4 actively growing bulbs or canes. In most cases, this will involve splitting the plant in half.
Once you have divided the orchid, it's time to plant both halves in a suitable growing medium. Each plant should have its own root system and will be able to continue growing without much difficulty.
It's worth mentioning that sympodial orchids, like the ones mentioned earlier, grow canes and are well-suited for propagation through division. This method allows you to create new orchids from a single plant, expanding your collection and potentially sharing the beauty of orchids with others.
By following these steps, you can successfully propagate your orchid through division and enjoy the satisfaction of nurturing new plants. Remember to provide proper care and attention to your newly divided orchids to ensure their healthy growth and development.
Common Mistakes to Avoid During an Orchid Propagation Process.
If you're an avid gardener looking to propagate your orchids, it's essential to know the common mistakes to avoid during the process. Orchid propagation requires careful attention to detail and proper techniques to ensure successful growth and development.
Here, we will discuss some of the most common mistakes made during orchid propagation and provide tips on avoiding them.
- Lack of Research: One of the biggest mistakes orchid growers make is diving into propagation without sufficient research. Understanding the specific requirements of the orchid species you are working with is crucial.
Different orchids have different propagation methods, and knowing the right technique for your orchid will significantly increase your chances of success.
- Improper Sterilization: When propagating orchids, it is essential to maintain a sterile environment. Failing to sterilize your tools, pots, and propagation medium can introduce harmful bacteria and fungi, which can quickly destroy your new orchid plants.
Always thoroughly clean your equipment and use a fresh, clean growing medium to minimize the risk of germs.
- Overwatering: Orchids are known for their sensitivity to water, and overwatering is a common mistake that can lead to root rot and the death of your orchid cuttings.
It's crucial to strike a balance between providing enough moisture for the plants to thrive and avoiding excessive watering. Proper drainage and allowing the growing medium to dry out slightly between watering sessions are essential for successful orchid propagation.
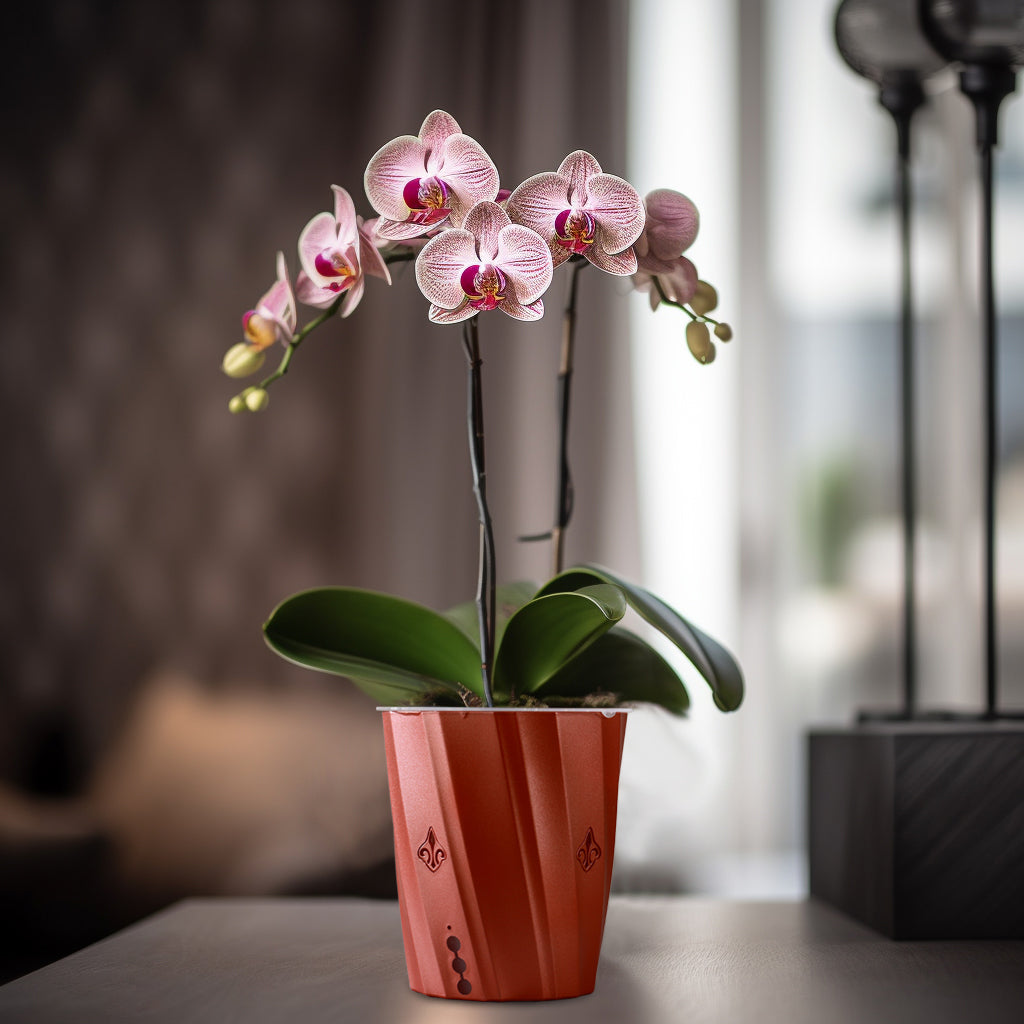
Recommended Planter for Orchids: Beautiful Indoor Orchid Pot with Holes for Healthy Growth
- Insufficient Light: Orchids require proper lighting to grow and thrive. Providing inadequate light can result in weak, leggy plants that fail to develop properly.
On the other hand, exposing orchids to direct sunlight for extended periods can cause leaf burn. Understanding the light requirements of your orchid species and providing the appropriate amount of light is crucial for successful propagation.
- Neglecting Temperature and Humidity: Orchids are sensitive to fluctuations in temperature and humidity. Extreme temperatures and low humidity can stress the plants, affecting their growth and development.
It's important to provide a stable and suitable environment for your propagated orchids, ensuring a temperature range and humidity level that matches their specific needs.
- Improper Handling of Orchid Cuttings: Orchid cuttings are delicate, and mishandling them can easily damage or kill them. When taking cuttings, make sure to use sterile tools and handle the plant material with care.
Avoid touching the cut ends of the orchid stem, as this can introduce harmful bacteria. Additionally, immediately place the cuttings in the growing medium to prevent them from drying out.
- Impatience: Orchid propagation requires patience. It can take several weeks or even months for your cuttings to develop roots and grow into healthy plants. Disturbing cuttings too soon or hurrying the process can disrupt root formation and hinder growth.
Give your orchid cuttings the time they need to establish themselves before expecting major growth. Avoiding these common mistakes can increase your chances of successful orchid propagation.
Conclusion.
Propagating orchids is a rewarding and fulfilling process that allows you to expand your collection or share the beauty of these stunning flowers with others.
You can successfully recreate new orchid plants from existing ones by understanding the different propagation methods, such as division, backbulb, and keiki propagation.
Remember to prioritize hygiene and careful handling throughout the process to ensure the health and vitality of your orchids. You can enjoy the beauty and wonder of a thriving orchid garden with patience, care, and experimentation.
FAQs
How to Propagating Orchids from Aerial Roots?
Orchids can be propagated from aerial roots by carefully cutting and planting them in a suitable growing medium, such as sphagnum moss or orchid bark.
It is important to ensure that the aerial root has at least one healthy node, which will develop into a new plant. Regular misting and appropriate lighting conditions will promote root growth and help establish the propagated orchid.
How to Propagate Orchids from Cuttings?
To propagate orchids from cuttings, select a healthy orchid stem with at least two nodes. Using a sterilized knife or scissors, cut the stem just below a node and remove any leaves or flowers.
Dip the cut end in a rooting hormone and plant it in a well-draining medium, such as sphagnum moss or perlite. Place the cutting in a warm and humid environment with indirect sunlight.
Mist the cutting regularly to maintain humidity. With proper care, the cutting should develop roots and eventually grow into a new orchid plant.
How Do Orchids Propagate Themselves?
Orchids can propagate through various methods, including division, backbulbs, keikis (baby orchids), and seed propagation.
Division involves separating a mature orchid plant into smaller sections, each with its own roots. Backbulbs are dormant bulbs that can be cut off and planted to grow new orchids.
Keikis are small plantlets that grow from nodes on the orchid's stem, which can be detached and planted. Lastly, orchids can also be propagated by collecting and sowing their seeds, although this method requires specific conditions and can be more challenging.
Are Orchids Hard to Propagate?
Propagating orchids can be challenging for beginners due to their specific requirements. Different species may require different propagation methods, such as division, backbulb propagation, or stem cuttings.
Providing the right conditions, including proper humidity, temperature, and lighting, is essential to increase the success rate. Taking into account these factors, orchid propagation can be a rewarding but time-consuming process.
Can You Propagate Orchid From Stalk?
Yes, orchids can be propagated from stalks. To propagate an orchid from a stalk, cut a healthy stem with at least two nodes and place it in a suitable rooting medium. The stem will develop roots with proper care and conditions and eventually grow into a new orchid plant.
Read More About Orchid Care
Choosing the Perfect Soil for Orchids


Leave a comment